With the rise of online events, webinars have become a popular way to teach and learn. Even before the world became more virtual, many event creators used webinar hosting to reach global audiences. As well as being a great way to position yourself or your company as a thought leader, webinars are cost-effective. After all, you don’t need to think about adding a venue to your budget. Your event can also be opened to a wider – potentially global – audience. All signs suggest virtual events are here to stay, even as COVID-19 recedes in Australia.
The tricky part is knowing where to start with webinar hosting, especially with so many options available. Whether you’re looking for help with content planning, finding the right platform, or marketing your online event, our guide on how to run a successful webinar will take you through the basics.
Step 1: Choose your topic
When you’re settling on a topic, remember that the more specific you are the more likely it is you’ll attract, engage, and motivate your target audience. While a title like “Copywriting 101” will attract attention, “Copywriting for Fashion Brands: How to Create Words That Convert” is a much more effective way to entice your distinct target audience to click “attending”. If you’re not sure what your audience wants to learn about, ask them on social media. If the subject matter needs more expertise than you currently have, consider drafting in a guest speaker. Remember, the goal is to give people information that they can’t easily find elsewhere.
Once your topic is crystal clear, think about what format will work best for your webinar. A solo presentation with slides for a lecture; a panel discussion with multiple guests to tackle a hot-button topic; or an interactive Q&A session for a more casual approach to learning are a few solid examples.
Step 2: Pick your platform
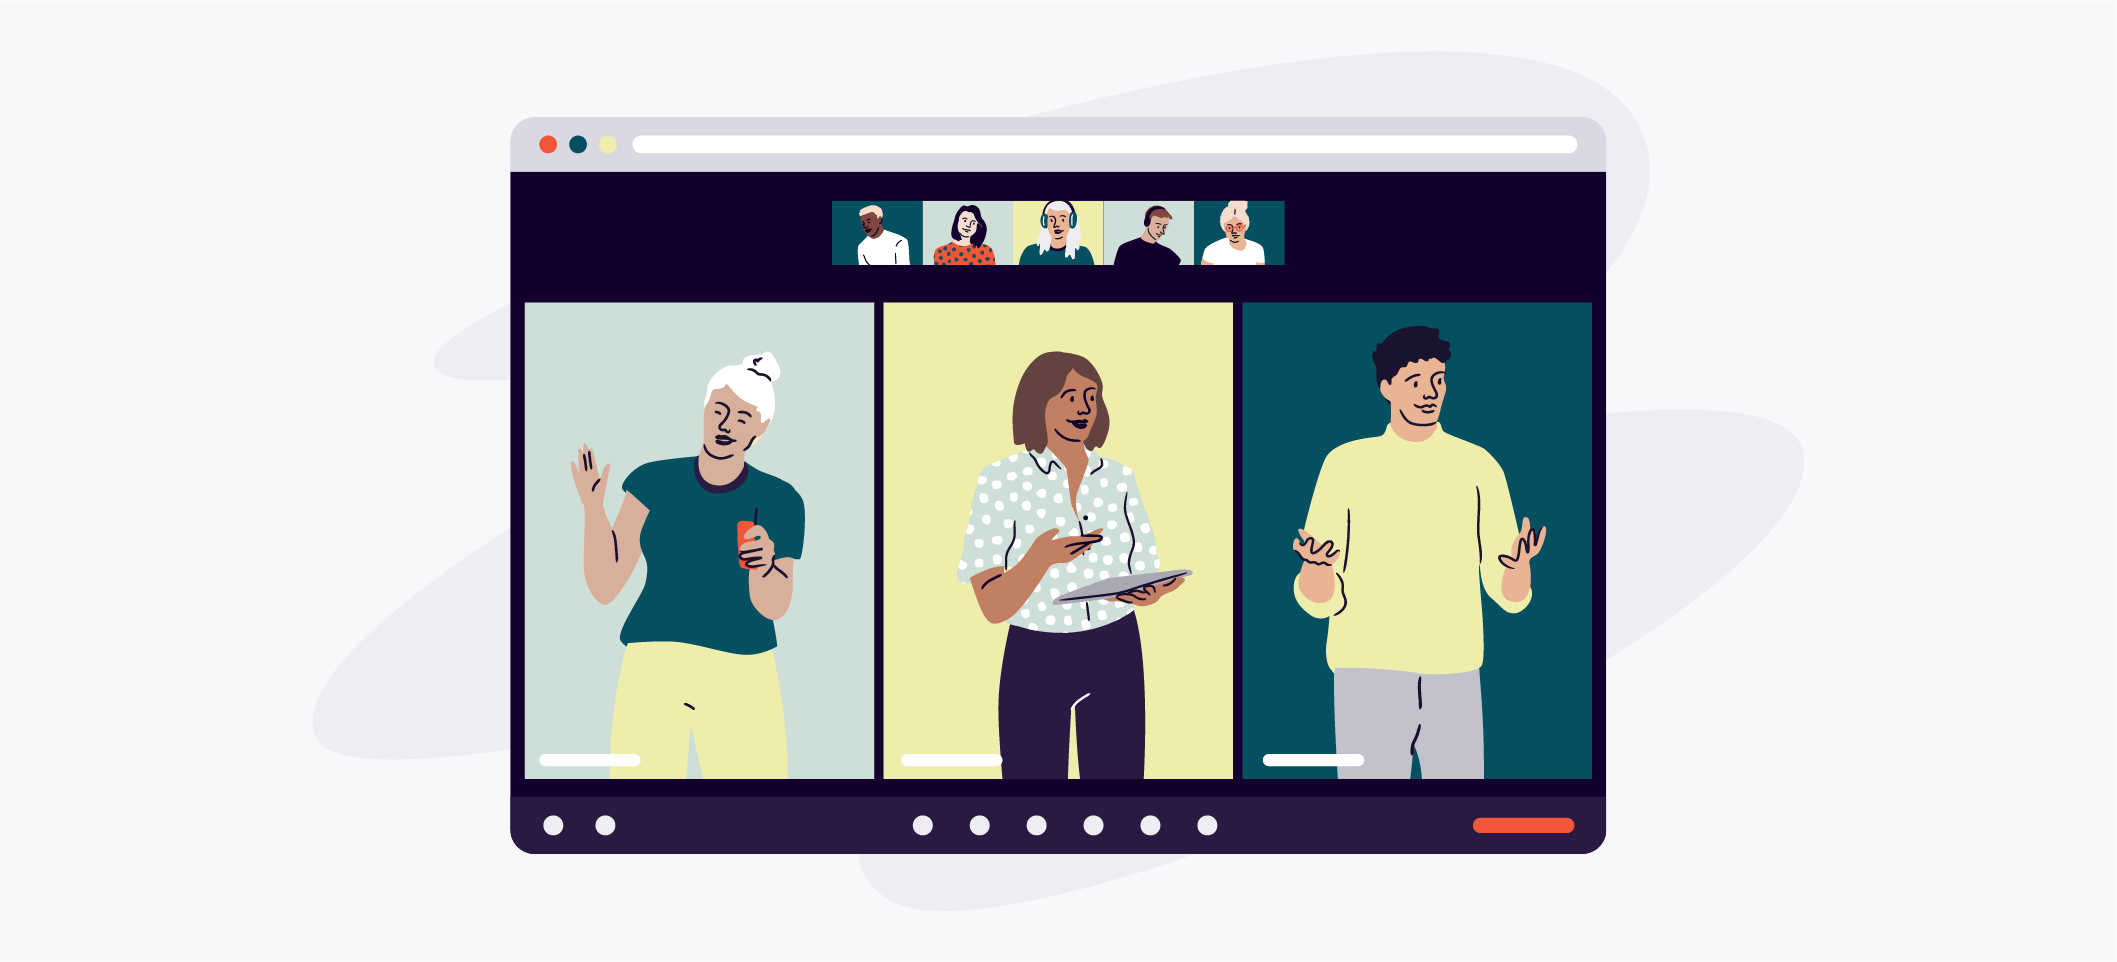
It’s time to decide which software to host your event on. Zoom may now be a household name, but there are plenty more webinar platforms out there. Like Zoom, Vimeo supports live and on-demand events so that attendees who can’t attend can watch and listen later. These platforms also feature in-stream interactivity, such as live Q&As, polls, and chats. Plus, as you can set a password for meetings, they’re a great option if you want to set up a paid webinar.
Another popular platform is GoToWebinar. It’s ideal for group discussions as it lets you have up to 24 panellists. Or, if you want to reach a wider audience, you could use a streaming site such as YouTube. It has low barriers to entry – a lot of people already have a YouTube account and there’s no need for guests to download software. YouTube also automatically saves your live videos to your account, making for easy access if the opportunity for future marketing from your webinar arises.
Step 3: Set a date and time
Think about how to plan a webinar around your audience’s needs. For example, if business professionals are your target audience, the best time to hold your webinar could be later in the evening or on the weekend. If you want to reach a global crowd, choose the best time to hold a webinar that will work across multiple timezones. You should also think about your ticketing strategy. Will your webinar be free, or will there be various price tiers with added benefits such as merchandise or access to a smaller post-event networking session? Clarify this in your event description and promotional material.
Step 4: Craft your content
Now that you know what your platform can do and when you’ll host your webinar, you’re ready to create the content. It can be a great idea to have visuals for people to focus on, especially if you’re discussing a complicated subject. The basic rules of presentations apply here:
- Avoid putting too much text on slides so that attendees can easily follow the presentation.
- Use interactive features such as polls and games to keep your audience engaged.
- Have a script you can refer to in case you lose focus.
- Put together handouts and email them to attendees before or after the webinar so they can refer back to the content.
Step 5: Get the word out
The next step is getting your webinar in front of the right people. Whether you use current followers or reach out to new marketing partners, there are lots of ways to promote your upcoming event.
- Take to social media. Mention your webinar on Twitter, Instagram, Facebook, and LinkedIn (if it’s a business event). If you have guest speakers, ask them to promote your event on social media, too.
- Create an Eventbrite page so that attendees can easily sign up and receive automated reminders.
- Email current subscribers – if you don’t have an email newsletter, why not start one?
- Reach out to potential sponsors. This will give you access to the sponsor’s audience, as well as potential funding.
Step 6: Invest in technology
One of the basics for virtual events is making sure your technology is reliable. You don’t need to spend a lot of money, but picking up a good microphone and webcam can make a world of difference. Look for cameras that sit on an adjustable tripod for the ability to choose the best angle. As for sound, a clip-on mic will look professional and pick up your voice more clearly than your laptop microphone.
Another thing to think about is lighting. You never know if the natural light will be too bright or dull on the day, so be prepared to switch on a bulb or two. Ring lights are popular because they cast an even glow and minimise shadows. If you have the budget (or a tech-savvy friend who wants to help out), consider hiring a technical assistant who can be across issues like connectivity while you concentrate on hosting.
Step 7: Have a dress rehearsal
Set aside time before the big day to run through everything. Ask friends or colleagues to dial in and give you feedback. As well as providing an opportunity to eliminate some of the most common live streaming mistakes, a run-through also gives you and your speakers the chance to get comfortable with the platform. Now is the time to make sure your audiovisual equipment works, your lighting is as good as it can be, and there aren’t any unexpected distractions like ambient noise. It’s best practice to do the trial a few days before the webinar so that any issues can be smoothed over and your presentation tweaked before the big day.
Step 8: The day of webinar hosting and beyond
Set up your space at least an hour before you’re due to begin. This helps you to work through any snags and ensures you start on time. Remember to use screen recording software like Vimeo Record to capture and save your webinar. You could generate additional revenue from your webinar by charging attendees who missed it to watch the recorded version via a link. You can gain extra traction from your webinar and pique interest in your future events by posting free webinar snippets on social media to show your expertise, or by hosting a social media competition related to the topic you covered.
Are you ready to host a webinar?
Where technology is concerned, there’s always a possibility that an issue will occur on the day. But with these webinar basics in mind, you’ll be prepared to engage live audiences from across the globe and have the skills to rectify any problems so that you can host a webinar your guests will love. Now that you know how to plan and host a live online event, it’s time to create your next webinar.