Online broadcasting makes it possible to stream live events free. And stream you should, because every viewer is a customer of your event brand and a potential attendee for your next event. To show you how to stream live events, we’ve put together a how-to guide of three top channels. Read on to find out how you can use YouTube, Facebook Live, and Instagram to showcase your event to an online audience.
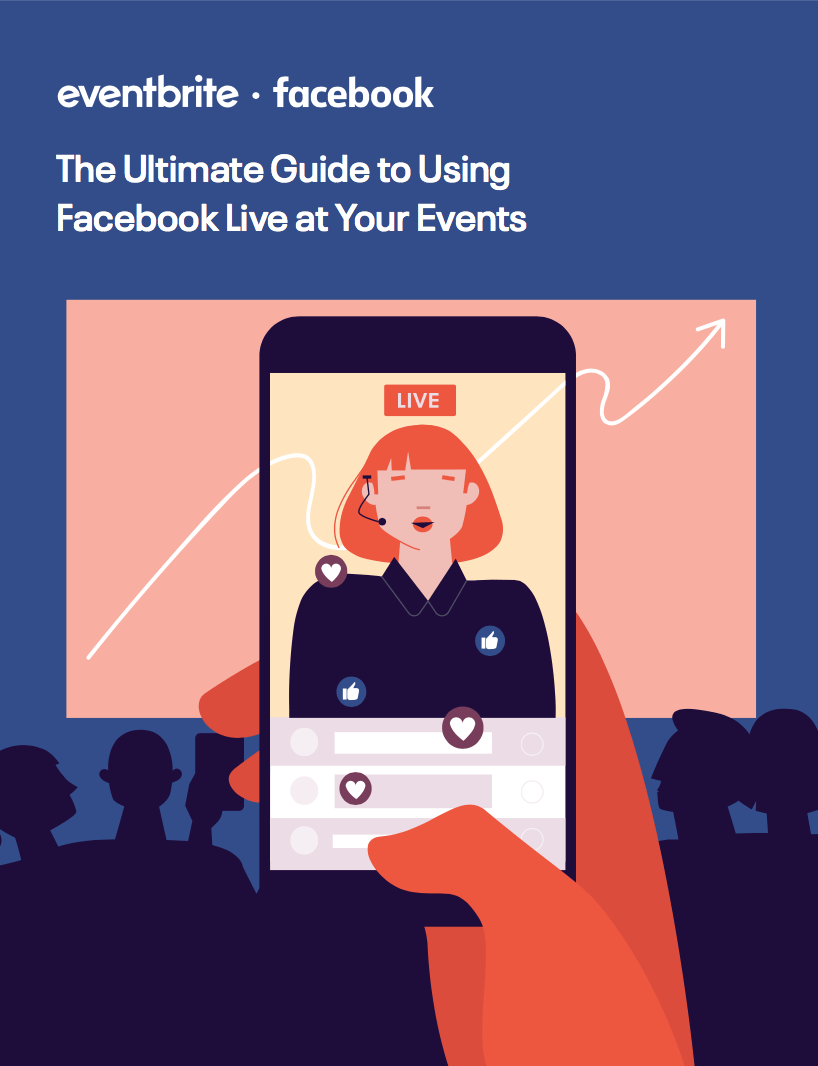
Create online event hype: Get the Ultimate Guide to Using Facebook Live at Events
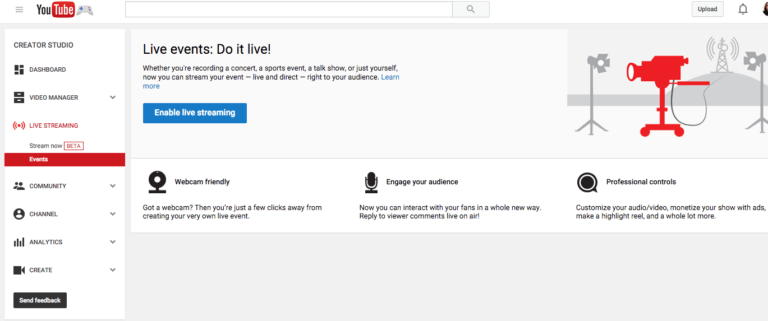
Stream Live Events on YouTube
To get started with YouTube’s live feature, you’ll need a YouTube channel for your brand or event. Once your account is up and running, you’ll need to enable live streaming.
Step 1: While logged in to your YouTube Channel, enable live streaming at https://www.youtube.com/my_live_events
Step 2: Once enabled, you have the option to start streaming immediately or schedule a live event.
YouTube have recently released a new product feature for streaming and events called ‘Live Control Room’. Watch their demo video on How to Use Live Control Room for Live Streaming on YouTube for more information. If you’re looking for ‘Google Hangouts on Air’, this feature has now been rolled into YouTube livestreaming now that Google+ is no longer active.
Pro Tip: We suggest scheduling a live event ahead of time for your event. This allows you to preview your video, change privacy settings, and set up manual start and stop. YouTube also want to run a check and verify your account before you get started and it can take up to 24 hours for this process to get access to live streaming. Once activated, you can go live instantly.
Stream Live Events on Facebook
Facebook Live is a content feature on Facebook that allows you to share live video with your followers and friends on Facebook. These videos will then appear in your News Feed and on your event’s Page while you are live. Once your livestream has ended, live videos will appear under Videos on your Page.
Try to avoid filming too much of the ‘white noise’ such as people getting settled into their seats or waiting for a speaker to hit the stage – keep it to the best bits to maintain the attention of your online audience.
Before you begin, you will need to use video encoding software, such as OBS, Wirecast, or XSplit to create your stream.
Step 1: Select which live streaming software you want to use.
Step 2: You can go live from a profile, Page, group or event. Login to Facebook and select ‘Create Live Stream‘ to begin.
Step 3: Copy the stream key to your software’s settings when you create a live stream.
For more help, check out the Facebook Live FAQ page.
Stream Live Events on Instagram
Instagram has two streaming features available: Instagram Live and IGTV. Instagram Live is similar to Facebook Live and is good for in-the-moment livestreaming of events. It creates a sense of urgency, because the video content recorded lives in your Instagram Stories section for 24hours before being disappearing.
IGTV on the other hand, provides options for events looking to promote longer-form video content. IGTV videos can run anywhere from 10 to 60 minutes and they don’t expire. You can also add filters, stickers, and branding to your content and include hyperlinks. IGTV is better for filmed performances or events and also works well for hype-reels/after-movies that promote future events. Both Instagram video features are designed for vertical smartphone viewing, so are great for fly-on-the-wall perspectives and smartphone photography.
How to livestream on Instagram Live:
- Open the Instagram app and tap the camera icon in the top left of Feed or swipe right from anywhere in Feed.
- Scroll to Live at the bottom of the screen, then tap the record icon.
- The number of viewers appears at the top of the screen and comments appear at the bottom.
- You can add a comment by tapping Comment at the bottom of the screen.
- Tap a comment and tap Pin Comment to pin it so that viewers can see it more easily.
- When you’re done, tap End in the top right then tap to confirm. From there, you can tap the download arrow in the top left to save it to your camera roll, or share it to your Story.
Keep in mind that when you save your live video to your camera roll, only the video is saved, and not things like comments, likes and viewers. It may take a minute for your live video to save to your phone, especially for longer videos. If you want your stream to be viewable for longer than 24 hours, you’ll need to add it to IGTV.
How to upload video from the Instagram app or IGTV app:
- Tap at the bottom and choose the video you want to upload, then tap Next.
- Select Long Video to share a video that’s at least 60 seconds to IGTV. Videos shorter than 60 seconds can be shared to your feed and profile by selecting Short Video > Continue.
- Tap and slide the image at the bottom of the screen to select a cover image or tap Add from Camera Roll (iPhone) or Add from Gallery (Android). Tap Next.
- Add a title and description.
- If you’d like to add your video to an IGTV series, tap Add to Series. Note that if this is your first time creating a series, you’ll need to create a series name. You can choose to post a preview of your video to Instagram feed and your profile or share your video to a Facebook Page.
- Tap Post
Monetising virtual events
Just because online streaming tools are free, doesn’t mean your event has to be. There are plenty of ways to host online-only virtual events and still sell tickets. For inspiration, check out How to Host an Online Event or Webinar That Live Event Attendees Will Love or 5 Ways to Monetise Your Webinar.