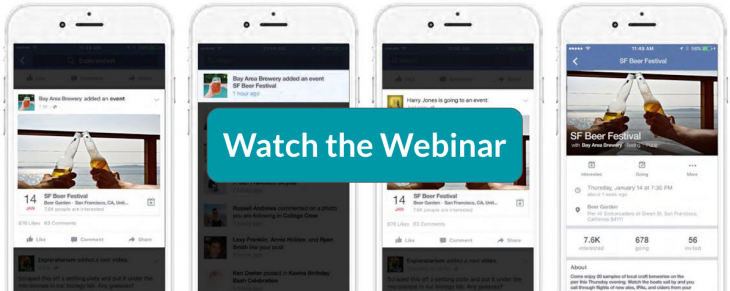
Did you know that 1.59 billion people use Facebook every day? Not to mention, 500 million people use Facebook Events each month. But with more than 47 million public Facebook events created last year alone, how can you make your event stand out?
To find out, we turned to Allison Hoffman, the Product Marketing Manager of Facebook Events, for her tips on promoting events through Facebook.
Watch the full webinar recording of
‘How to Use Facebook to Sell Out Your Event’ here,
or keep reading for some top tips.
Event promotion on Facebook starts the moment you create your Facebook Event. There are five tips you want to keep in mind when creating your event:
1. Choose a 1920×1080 cover photo that looks good at any size
Your event cover photo will appear in different formats across Facebook, on both mobile and desktop. A 16:9 ratio will look good at any size, without causing your photo to appear cut off or incomplete.
It’s also important to choose an image with little or no text so it’s easy to understand at a glance. If you choose to set up ads using your event photo, ads with more than 20% text won’t be approved, so it’s good to think ahead now.
2. Choose a clear, short name that represents your event
You want people to understand what your event is about — but long names often get cut off on mobile experiences.
Don’t duplicate information about the location or time in the event name — those details will be included in your event posting.
Events with long names usually receive fewer responses. Names written in all capital letters or with lots of glyphs are often hard to read and feel less legitimate, which can also lead to lower engagement.
3. Be specific about location, time, and category so Facebook can help promote your event
Selecting an accurate location, date and time, category, and tags allows Facebook to recommend your event to people who live nearby and have similar interests. Using a location that corresponds with a Facebook page or Facebook-suggested location improves these recommendations.
Keep in mind that you can’t create an event that’s longer than two weeks. If you’re organising a recurring event, we recommend creating separate Facebook events that each have their own time and place for more discovery opportunities.
4. Craft a compelling event description
One way to do this is by using hashtags and mentions in the event description to generate buzz. This enables people to participate in the conversation, or find out more by clicking on the pages of any performers or partners.
You also want to be sure your event description is well-formatted and easy to understand with the important details up front. Tell people why they should go, the line-up or schedule, any age requirements, when tickets go on sale, how to find the venue, and any other FAQs.
5. Put your ticketing link front and centre
Showcase your ticketing link at the top of your page to make it easy for buyers to find. You can do this by placing the link in its own field when you set up your page. If you might use Facebook Event ads to promote your event, you need to include your ticketing here to use their event-specific advertising features.
Did you know you might be able to set up your Facebook Event through your ticketing platform? If you use Eventbrite, there’s a “Publish to Facebook” button that you can use to automatically pull all of your event data to Facebook — including your ticketing link. It doesn’t just save you time — using this integration makes your event an Official Event, which helps your chances of qualifying for better Facebook search and News Feed recommendations.
For more on how to promote your event on Facebook, view the webinar with more pro tips from the Facebook Events team. You’ll learn:
- How to highlight your event calendar and add co-hosts
- Strategies for when and what to post
- Facebook Event ads
- How to measure and track ticket sales


